Get rid of the blue tint on your computer screen with our quick and easy solutions. Learn how to fix blue tint on computer screen in our blog post.
Have you ever noticed a blue tint on your computer screen that just won’t go away? It can be frustrating when you’re trying to work or watch a movie and the colors are distorted. But don’t worry, there are some quick solutions to fix this issue.
First, we will cover what causes the blue tint on your computer screen. Outdated graphics drivers, incorrect color settings, and defective external monitors are the most common reasons. Then we’ll dive into how to fix it by updating your graphics driver, calibrating your color settings, testing your external monitor on a different device, and adjusting the night mode function.
We will also provide troubleshooting tips like checking for malware and viruses, resetting your color settings to default, and running a disk check utility. Lastly, we’ll discuss how to fix the blue tint on Windows 7, 10, and 11. Get ready to say goodbye to that pesky blue tint!
What is causing the blue tint on your computer screen?
Have you ever experienced having a blue tint on your computer screen? There could be a few reasons behind it. One possible culprit could be outdated graphics drivers, which are responsible for displaying images on your screen. Another reason could be incorrect color settings that need to be adjusted.
It’s also possible that your external monitor is defective and causing the blue tint problem. By understanding these factors, you can easily fix the issue and get back to enjoying a clear and vibrant display on your computer screen.
Outdated graphics driver
To resolve the blue tint issue on your computer screen, make sure to update your graphics driver. Ensure that your graphics driver is up to date and check if it needs an update to fix the blue tint problem. Updating your graphics driver can help eliminate the blue tint and restore the correct colors on your screen. Install the latest version of your graphics driver to fix the blue tint issue.
Incorrect color settings
To fix the blue tint on your computer screen, adjust the color settings accordingly. Check and modify the color settings to eliminate the blue tint issue. Ensure the correct color settings are applied by calibrating them accurately. This will help remove the blue tint from your computer screen. Make sure to resolve the blue tint problem by correcting the color settings on your computer.
Defective external monitor
To determine if your external monitor is causing the blue tint on your computer screen, try connecting it to another device and see if the issue persists. If the blue tint is present on the external monitor as well, it’s likely that the monitor is defective. Consider replacing or repairing the monitor to resolve the issue. Make sure to address any hardware issues with the monitor, such as faulty display adapters or drivers.
How to fix the blue tint on your computer screen?
Follow these steps to resolve the issue and enjoy a clear display. Implement the necessary adjustments and settings to fix the blue tint problem on your computer screen.
Update your graphics driver
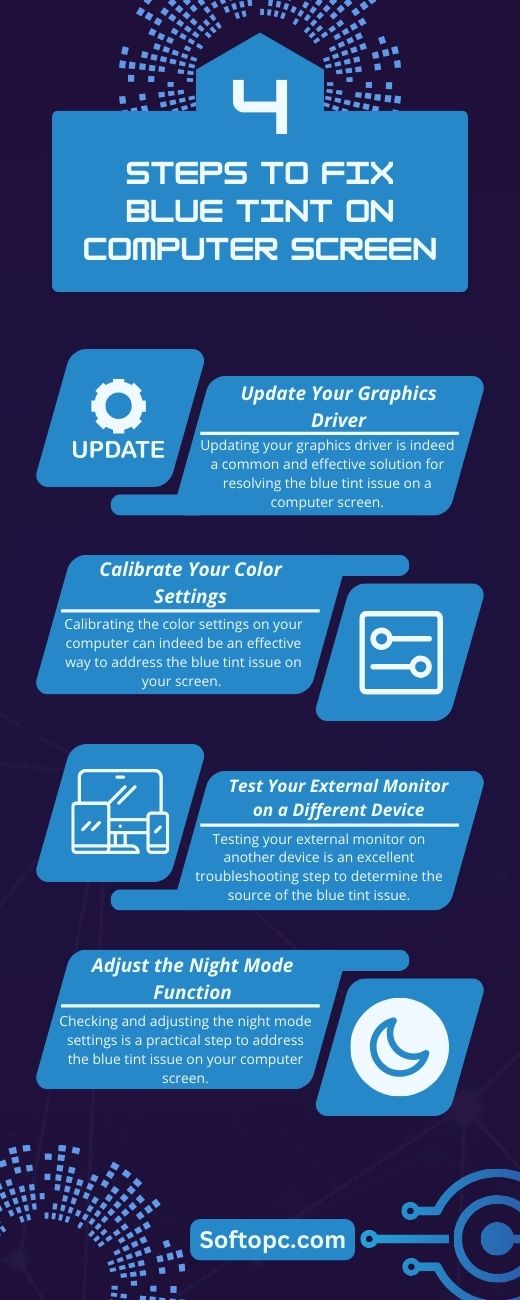
Updating your graphics driver is indeed a common and effective solution for resolving the blue tint issue on a computer screen. Here’s a step-by-step guide on how to do it:
- Identify Your Graphics Card:
- Go to the “Device Manager” on your computer (you can search for it in the Windows search bar).
- Expand the “Display adapters” section to see the name of your graphics card (e.g., NVIDIA GeForce GTX 1080, AMD Radeon RX 5700, etc.).
- Visit the Manufacturer’s Website:
- Visit the official website of your graphics card manufacturer. Common manufacturers include NVIDIA, AMD, Intel, and others.
- Search for Driver Updates:
- Use the website’s search or support section to find the latest driver for your specific graphics card model.
- Download the driver that corresponds to your operating system (e.g., Windows 10, Windows 11, macOS).
- Install the Driver:
-
- Once the driver is downloaded, run the installer.
- Follow the on-screen instructions to install the updated graphics driver.
- The installer may ask you to restart your computer. Be sure to save any work and complete the installation process.
Calibrate your color settings
Calibrating the color settings on your computer can indeed be an effective way to address the blue tint issue on your screen. Here’s how you can do it:
- Access Display Settings:
- On Windows: Right-click on the desktop and select “Display settings.”
- On macOS: Open “System Preferences,” then click on “Displays.”
- Adjust Color Settings:
- On Windows:
- Scroll down and click on “Advanced display settings.”
- Under “Color settings,” you can adjust the color profile and calibration. Experiment with different profiles or click on “Color calibration” to go through a guided process to adjust colors.
- On macOS:
- Go to the “Color” tab or “Color” option, depending on your macOS version.
- You can adjust the color temperature, tint, and other display settings here.
- On Windows:
- Follow Calibration Wizard (if available):
- Both Windows and macOS offer calibration wizards that can help you adjust colors accurately. These wizards will guide you through the process of setting the correct color balance.
- Experiment with Color Settings:
- Tweak the settings based on your preference. You can adjust parameters like color temperature, gamma, brightness, contrast, and saturation to reduce the blue tint and achieve the desired color balance.
- Save Changes:
- After making adjustments, save the changes, and see if the blue tint issue is resolved.
- Test and Fine-Tune:
-
- Open images or applications that you frequently use and check if the colors now appear natural and free from a blue tint.
- If the issue persists, you can go back to the color settings and make further adjustments until you achieve the desired result.
Test your external monitor on a different device
Testing your external monitor on another device is an excellent troubleshooting step to determine the source of the blue tint issue. Here’s how you can do it:
- Prepare Another Device:
-
- Find another computer or laptop that you can use to test the external monitor. Ensure that this second device is in good working condition.
- Connect the External Monitor:
- Connect the external monitor to the second device using the same cables and ports you use with your computer.
- Check for the Blue Tint:
- Power on the second device and use it with the external monitor.
- Observe the display closely to see if the blue tint issue is present on this device as well.
- Perform a Thorough Test:
- Use different applications, open various types of content, and view different colors to thoroughly test the external monitor’s display.
- Compare Results:
- Compare the display on the second device to the display on your computer. If the blue tint issue is present on both devices, it indicates a problem with the external monitor itself. In this case, you may need to consider getting the monitor serviced or replaced.
- Isolate the Issue:
-
- If the blue tint issue only occurs when the external monitor is connected to your computer and not on the second device, then the problem is likely related to your computer’s graphics settings or hardware.
Adjust the night mode function
Checking and adjusting the night mode settings is a practical step to address the blue tint issue on your computer screen, especially if you have a feature like “Night Light” on Windows or “Night Shift” on macOS. Here’s how to do it:
For Windows (Night Light):
- Open Settings:
- Click on the Windows Start button, then select the gear icon (Settings) to open the Settings app.
- Go to Display Settings:
- In the Settings app, click on “System.”
- Access Night Light Settings:
- In the System menu, select “Display” on the left sidebar.
- Adjust Night Light Settings:
- Under the “Night Light” section, you can:
- Toggle the switch to turn the Night Light on or off.
- Adjust the color temperature to make the screen warmer or cooler.
- Set a schedule for when Night Light should be active.
- Disable Night Light (if needed):
-
- If you want to completely eliminate the blue tint, simply turn off the Night Light feature by toggling the switch.
For macOS (Night Shift):
- Open System Preferences:
-
- Click on the Apple menu in the top-left corner, then select “System Preferences.”
- Access Display Preferences:
- In the System Preferences window, click on “Displays.”
- Go to Night Shift Settings:
- In the Displays preferences, go to the “Night Shift” tab.
- Adjust Night Shift Settings:
- You can:
- Use the slider to adjust the color temperature to make the screen warmer or cooler.
- Set a schedule for when the Night Shift should be active.
- You can:
- Disable Night Shift (if needed):
-
- To remove the blue tint completely, move the “Turn On Until Tomorrow” slider to “Off.”
Troubleshooting the blue tint on your computer screen
Follow these troubleshooting steps to address the blue tint issue on your computer screen.
Checking for malware and viruses
Regularly scan your PC for malware and viruses to ensure they aren’t causing the blue tint issue. Use reliable antivirus software to detect and remove any potential threats. Keep your antivirus software up to date for protection against the latest malware and viruses. Run a full system scan to thoroughly check for infections. Consider using additional security measures like a firewall for added protection.
Resetting your color settings to default
To fix the blue tint on your computer screen, you can try resetting the color settings to their default values. Open the display settings on your PC or laptop and locate the color settings. Reset them to their default values. Additionally, adjust the color temperature and brightness settings to eliminate the blue tint. Check the graphics driver settings and restore them to default if necessary. Restart your computer to apply the changes and see if the blue tint issue is resolved.
Running a disk check utility
To fix the blue tint on your computer screen, you can run a disk check utility. Use the built-in disk check utility on your PC to scan and fix any errors on your hard drive. Open Command Prompt, and type “chkdsk C: /f” to start the disk check process on the C drive. Schedule it to run at the next system restart if prompted. Let the utility complete the scanning and fixing. Restart your computer and check if the issue persists.
How to Fix Blue Tint on Windows 7
To fix the blue tint on your Windows 7 computer screen;
- Start by right-clicking on your desktop and selecting Personalize.
- Then, click on Display in the bottom left corner of the window.
- From there, choose Adjust ClearType Text from the options on the left and follow the on-screen instructions to calibrate the display settings.
If the issue persists, update your graphics driver from the manufacturer’s website.
How to Fix Blue Tint on Windows 10
To fix the blue tint on your Windows 10 computer screen;
- Start by opening the Start menu and navigating to the Settings app.
- From there, go to the System section and click on Display.
- Scroll down until you find the Night light settings and adjust the slider to reduce the blue light emitted by your screen.
- Additionally, if you have a dedicated GPU, check the GPU control panel for any additional color settings that may be causing the blue tint issue.
How to Fix Blue Tint on Windows 11
To fix the blue tint on your Windows 11 computer screen;
- Start by opening the Start menu and navigating to Settings.
- From there, click on System and then select Display.
- Look for the Night light option and either toggle it off or adjust the settings to reduce the blue tint.
If the issue persists, update your GPU drivers from the manufacturer’s website. Additionally, consider checking for any software issues or conflicts that may be causing the blue tint.
Conclusion
To fix the blue tint on your computer screen, you need to identify the root cause of the issue. It could be due to outdated graphics drivers, incorrect color settings, or a defective external monitor. Updating your graphics driver, calibrating your color settings, and testing your external monitor on a different device are some of the solutions that can help resolve the blue tint problem.
If you’re still experiencing the issue after trying these solutions, you may need to troubleshoot further by checking for malware and viruses, resetting your color settings to default, or running a disk check utility.
Remember, the steps to fix the blue tint may vary depending on your operating system. Whether you’re using Windows 7, Windows 10, or Windows 11, there are specific instructions you can follow to address the issue.
So don’t let the blue tint affect your viewing experience. Take action and implement these solutions to restore the colors on your computer screen.