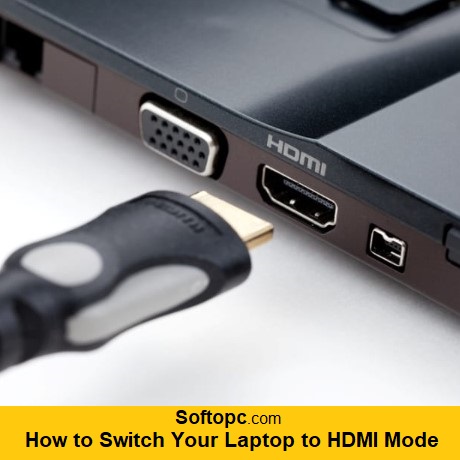
Want to connect your laptop to a TV or monitor? Learn how to switch your laptop to HDMI mode with our easy-to-follow guide.
Are you tired of squinting at a tiny laptop screen when you are trying to watch a movie or give a presentation? Fear not, as you can easily switch your laptop to HDMI mode and enjoy your favorite content on the big screen. HDMI stands for High-Definition Multimedia Interface and is used to transfer high-quality audio and video data between devices.
In this blog, we will guide you through the step-by-step process of switching your laptop to HDMI mode. We will also discuss the benefits of connecting your laptop to an external display via HDMI and provide tips for optimizing your viewing experience. Additionally, we will troubleshoot common issues that may arise during the process.
What is HDMI and How Does it Work?
HDMI (High-Definition Multimedia Interface) is indeed a widely used and versatile technology for transmitting high-quality audio and video signals between various electronic devices. Your description of HDMI’s features and benefits is accurate, but it’s worth elaborating on a few key points:
- Evolution of HDMI: HDMI technology has evolved over the years with versions like HDMI 1.0 to HDMI 2.1. These versions offer improvements such as higher resolutions, increased bandwidth, and support for advanced audio formats like Dolby Atmos and DTS:X.
- 4K Resolution and HDR: HDMI technology has made significant advancements, including support for 4K resolution and HDR. With four times the resolution of 1080p, 4K provides sharper and more detailed images. HDR improves color contrast and brightness, creating a more lifelike and dynamic visual experience.
- Audio and Video Integration: HDMI cables carry audio and video signals over a single cable, simplifying connections and reducing clutter. They also ensure synchronized audio and video for a seamless viewing or gaming experience.
- Compatibility and Backward Compatibility: HDMI is widely supported across devices, making it easy to connect TVs, monitors, gaming consoles, laptops, and more. HDMI versions are also backward compatible, allowing newer devices with HDMI 2.1 ports to work with older HDMI cables and devices (although they may not utilize the latest features).
- Consumer Electronics Standard: HDMI has become the industry standard for connecting consumer electronics, making it a go-to choice for manufacturers and consumers alike. This ubiquity has helped create a seamless ecosystem for home entertainment.
- Cable Varieties: Choose the right HDMI cable for optimal performance. There are different varieties like Standard HDMI, High-Speed HDMI, and Premium High-Speed HDMI, each designed for specific use cases and compatible with different HDMI versions.
- Content Protection: HDMI uses HDCP (High-bandwidth Digital Content Protection) to prevent unauthorized copying and distribution of copyrighted content. It allows content creators and distributors to protect their intellectual property.
HDMI is a pivotal technology in audio and video connectivity. It offers high-quality transmission, simplicity, and compatibility across devices. Its continual evolution has kept it at the forefront of multimedia connectivity, making it indispensable for home theaters, gaming setups, and more.
Benefits of Connecting Your Laptop to an External Display via HDMI
Connecting your laptop to an external display via HDMI offers several benefits.
- Larger Screen Area: This provides an enhanced viewing experience, making it especially useful for watching movies, gaming, or working on large documents and spreadsheets.
- High-Quality Audio and Video: HDMI offers both high-definition video and audio signals, ensuring a superior multimedia experience compared to other connection options.
- Versatility: You can use your laptop as a desktop computer when connected to an external display and easily disconnect it for on-the-go use, maintaining flexibility.
- Increased Productivity: A larger screen size and better image quality can boost productivity by allowing you to multitask effectively and see more content at once.
- Comfortable Viewing: Using an external display at eye level reduces eye strain and neck pain associated with constantly looking down at a smaller laptop screen.
Step-By-Step Guide on How to Switch Your Laptop to HDMI Mode
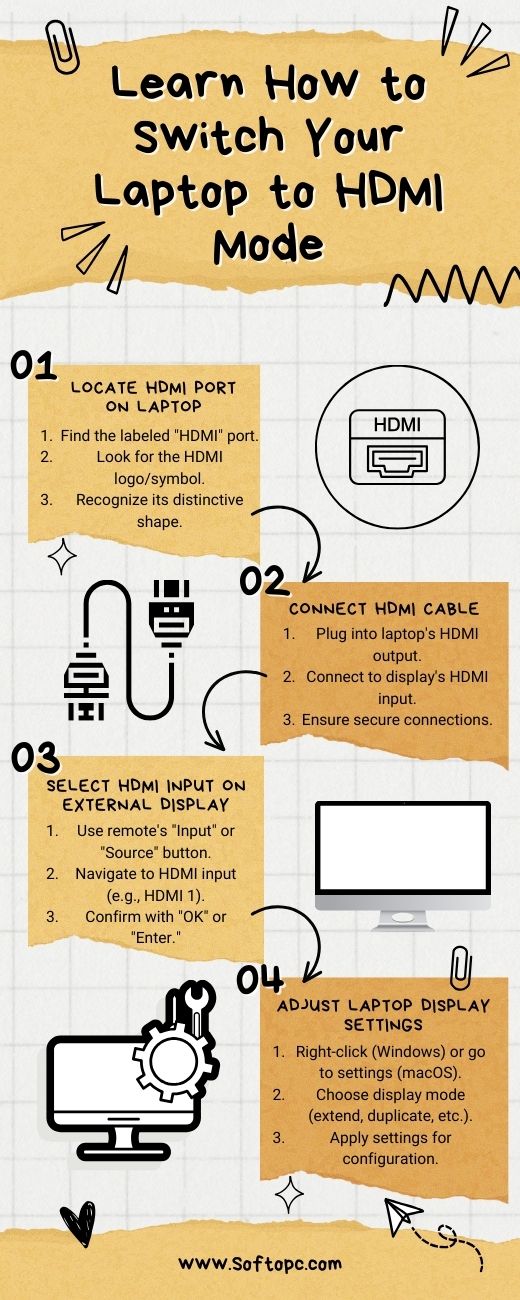
To switch your laptop to HDMI mode, follow these steps:
- Locate the HDMI port on your laptop.
- Connect one end of the HDMI cable to your laptop and the other end to the external display.
- Select the HDMI input on your external display.
- Adjust the display settings on your laptop for proper content display.
By following these steps, you can easily switch your laptop to HDMI mode and enjoy your content on a larger screen.
Locate the HDMI Port on Your Laptop
- Position: The HDMI port is typically located on the side or back of your laptop. On some laptops, it may also be on the front or hidden behind a cover.
- Labeling: Look for a small, rectangular port labeled “HDMI.” It may have the HDMI logo/symbol next to it. The label should make it clear that this is the HDMI port.
- Appearance: The HDMI port itself has a distinctive shape with a flat, rectangular opening and a series of small pins or connectors inside.
- Color: HDMI ports are usually black, but some laptops may have them in different colors.
By identifying the HDMI port on your laptop, you can easily set up your laptop to display content on a larger screen for a more immersive viewing experience.
Connect the HDMI Cable to Your Laptop and External Display
To connect your laptop to an external display via HDMI, start by:
- Laptop End: Plug one end of the HDMI cable into your laptop’s HDMI output port. This port is typically located on the side or back of your laptop and is labeled “HDMI.”
- External Display End: Connect the other end of the HDMI cable to the HDMI input port on the external display (e.g., monitor, TV). Ensure the external display is powered on and set to the correct HDMI input source.
- Secure Connection: Make sure both ends of the HDMI cable are securely inserted into their respective ports to establish a stable connection.
With the HDMI cable connected, you can now proceed to the next steps in the process.
Select the HDMI Input on Your External Display
Selecting the correct HDMI input on your external display is essential to ensure that it receives the signal from your laptop and displays it correctly. Here’s how you can do it using both the remote and the display’s buttons:
Using the Remote:
- Locate the Remote: Ensure you have the remote control for your external display ready.
- Press the Input or Source Button: On most remote controls, there will be a button labeled “Input” or “Source.” Press this button to access the input source options.
- Navigate and Select HDMI: Use the arrow buttons on the remote to navigate through the input source options. Look for the one that corresponds to the HDMI port you connected your laptop to (e.g., HDMI 1, HDMI 2, etc.).
- Confirm Selection: Once you’ve highlighted the correct HDMI input, press the “OK” or “Enter” button on the remote to confirm your selection.
Using the Display’s Buttons:
If you don’t have the remote control or prefer using the display’s buttons:
- Locate the Buttons: Look for physical buttons on the external display. These are usually located on the side or bottom of the screen.
- Access the Input/Source Menu: Find the button that is labeled with options like “Input,” “Source,” or something similar. Press this button to access the input source menu.
- Navigate and Select HDMI: Use the display’s arrow buttons to navigate through the input source options until you reach the HDMI input corresponding to the port your laptop is connected to.
- Confirm Selection: Once the correct HDMI input is highlighted, press the display’s menu button or an “Enter” button to confirm your selection.
By selecting the correct HDMI input, your external display will be ready to receive the signal from your laptop, and you should see your laptop’s screen displayed on the larger external screen.
Adjust Display Settings on Your Laptop
Here’s how to adjust display settings on your laptop:
- Access Display Settings:
- Windows: Right-click on the desktop and select “Display settings.” Alternatively, go to “Settings” > “System” > “Display.”
- macOS: Go to the Apple Menu > “System Preferences” > “Displays.”
- Linux (Ubuntu, for example): Go to “Settings” > “Displays.”
- Identify Multiple Displays:
- In the display settings, you should see a section that allows you to manage multiple displays. Your laptop screen and the external display should be listed.
- Select the External Display:
In the multiple display settings, you can choose how you want to use the external display. Options typically include:
- Extend: This mode allows you to use the external display as an extension of your laptop screen, effectively increasing your workspace.
- Duplicate: In this mode, both your laptop screen and the external display show the same content, which can be useful for presentations or mirroring your display.
- Second Screen Only (Windows) or Mirror Display (macOS): This mode makes the external display the primary screen, turning off your laptop screen.
- Primary Display (Linux): In Linux, you can designate the primary display by dragging it to the desired position in the display settings.
- Apply Changes: After selecting the desired display mode, click “Apply” or “OK” to confirm your settings.
- Resolution Settings (Optional):
- You can also adjust the resolution settings to match the native resolution of the external display for the best image quality. This option is usually found in the same display settings menu.
- Confirm and Save: Confirm the changes. Your laptop should now be using the external display as the primary or secondary screen, depending on your selection.
By adjusting these display settings, you can optimize your viewing experience and seamlessly use your laptop with an external display via HDMI, whether it’s for work, entertainment, or other purposes.
Troubleshooting Common Issues When Switching to HDMI Mode
If you experience any issues when switching your laptop to HDMI mode, there are a few common troubleshooting steps you can take.
- Ensure that your HDMI cable is securely connected to both your laptop and the external display. Loose connections can result in a poor or no signal.
- It’s important to update your laptop’s graphics drivers for optimal HDMI performance. Outdated drivers can cause compatibility issues and affect the quality of the display.
- Adjust your display settings to ensure that the external display is detected and selected as the primary display. This will ensure that the video output is correctly routed to the external display.
Tips for Optimizing Your Viewing Experience on an External Display
To enhance your viewing experience on an external display, there are several tips you can follow.
- Adjust the screen resolution to match the capabilities of your display. This ensures that you get the best possible image quality.
- Consider using a wireless display adapter for a seamless connection between your laptop and the external display. This eliminates the need for cables and allows for greater flexibility in positioning.
- Take advantage of the multiple display options available, such as extended or duplicate screens. This allows you to customize your setup based on your specific needs.
By following these tips, you can optimize your viewing experience and make the most out of your external display.
Conclusion
In conclusion, connecting your laptop to an external display via HDMI offers numerous benefits, including enhanced visuals, increased productivity, and the ability to enjoy multimedia content on a larger screen. By following the step-by-step guide provided, you can easily switch your laptop to HDMI mode and start reaping these benefits.
However, it’s important to be aware of common issues that may arise when switching to HDMI mode and to troubleshoot them accordingly. Additionally, optimizing your viewing experience on an external display can further enhance your overall usage.